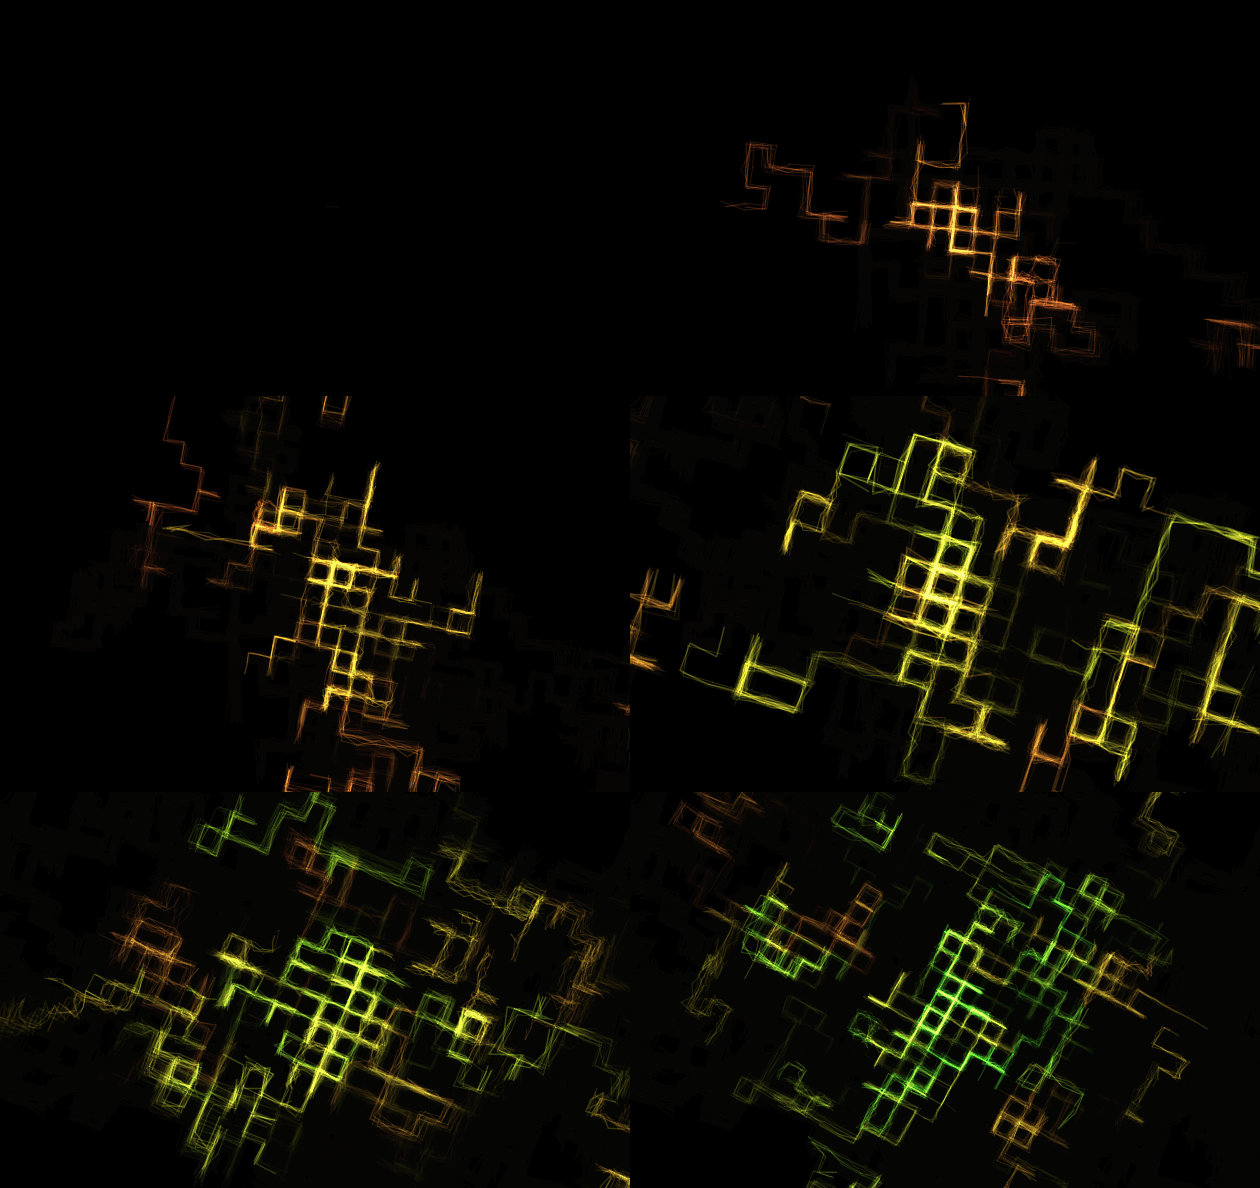
效果预览
无意发现一个很好玩的canvas特效,好奇它是怎么运行的,遂拷贝代码运行。
效果如下:

源码
html给一个canvas标签,id为canvas
        var canvas,
            ctx,
            width,
            height,
            size,
            lines,
            tick,
            direction;

        function line() {
            this.path = [];
            this.speed = rand(10, 20);
            this.count = randInt(10, 30);
            this.x = width / 2 + 1;
            this.y = height / 2 + 1;
            this.target = {
                x: width / 2,
                y: height / 2
            };
            this.dist = 0;
            this.angle = 0;
            this.hue = tick / 5;
            this.life = 1;
            this.updateAngle();
            this.updateDist();
        }

        line.prototype.step = function (i) {
            this.x += Math.cos(this.angle) * this.speed;
            this.y += Math.sin(this.angle) * this.speed;

            this.updateDist();

            if (this.dist < this.speed) {
                this.x = this.target.x;
                this.y = this.target.y;
                this.changeTarget();
            }

            this.path.push({
                x: this.x,
                y: this.y
            });

            if (this.path.length > this.count) {
                this.path.shift();
            }

            this.life -= 0.001;

            if (this.life <= 0) {
                this.path = null;
                lines.splice(i, 1);
            }
        };

        line.prototype.updateDist = function () {
            var dx = this.target.x - this.x,
                dy = this.target.y - this.y;
            this.dist = Math.sqrt(dx * dx + dy * dy);
        }

        line.prototype.updateAngle = function () {
            var dx = this.target.x - this.x,
                dy = this.target.y - this.y;
            this.angle = Math.atan2(dy, dx);
        }

        line.prototype.changeTarget = function () {
           direction = [0, 0.5, 1, 1.5]
           var randStart = randInt(0, direction.length - 1)
            this.target.y += Math.sin(Math.PI * direction[randStart]) * size
            this.target.x += Math.cos(Math.PI * direction[randStart]) * size

            this.updateAngle();
        };

        line.prototype.draw = function (i) {
            ctx.beginPath();
            var rando = rand(0, 10);
            for (var j = 0, length = this.path.length; j < length; j++) {
                ctx[(j === 0) ? 'moveTo' : 'lineTo'](this.path[j].x + rand(-rando, rando), this.path[j].y + rand(-rando, rando));
            }
            ctx.strokeStyle = 'hsla(' + rand(this.hue, this.hue + 30) + ', 80%, 55%, ' + (this.life / 3) + ')';
            ctx.lineWidth = rand(0.1, 2);
            ctx.stroke();
        };

        function rand(min, max) {
            return Math.random() * (max - min) + min;
        }

        function randInt(min, max) {
            return Math.floor(min + Math.random() * (max - min + 1));
        };

        function init() {
            canvas = document.getElementById('canvas');
            ctx = canvas.getContext('2d');
            size = 30;
            lines = [];
            reset();
            loop();
        }

        function reset() {
            width = Math.ceil(window.innerWidth / 2) * 2;
            height = Math.ceil(window.innerHeight / 2) * 2;
            tick = 0;

            lines.length = 0;
            canvas.width = width;
            canvas.height = height;
        }

        function create() {
            if (tick % 10 === 0) {
                lines.push(new line());
            }
        }

        function step() {
            var i = lines.length;
            while (i--) {
                lines[i].step(i);
            }
        }

        function clear() {
            ctx.globalCompositeOperation = 'destination-out';
            ctx.fillStyle = 'hsla(0, 0%, 0%, 0.1';
            ctx.fillRect(0, 0, width, height);
            ctx.globalCompositeOperation = 'lighter';
        }

        function draw() {
            ctx.save();
            ctx.translate(width / 2, height / 2);
            ctx.rotate(tick * 0.001);
            var scale = 0.8 + Math.cos(tick * 0.02) * 0.2;
            ctx.scale(scale, scale);
            ctx.translate(-width / 2, -height / 2);
            var i = lines.length;
            while (i--) {
                lines[i].draw(i);
            }
            ctx.restore();
        }

        function loop() {
            requestAnimationFrame(loop);
            create();
            step();
            clear();
            draw();
            tick++;
        }

        function onresize() {
            reset();
        }

        window.addEventListener('resize', onresize);

        init();
代码结构解析
- 整个代码关键在于line对象
line对象属性包括:
path: 轨迹数组speed: 速度count: 轨迹数组最大长度x: 当前点位置Xy: 当前点位置Ytarget.x: 目标点位置Xtarget.y: 目标点位置Ylife: 生命dist: 当前点与目标点所成向量长度angle: 当前点与目标点所成向量角度
下以“位移向量”指代“当前点与目标点所成向量”
line对象方法包括:
line(): 生成位置点,添加到轨迹数组draw(): 按轨迹数组指定的路径作画
line对象工具函数类方法
updateDist(): 更新位移向量长度updateAngle(): 更新位移向量角度changeTarget(): 设定下一目标点位置rand(): 随机数randInt(): 随机整数
- 主代码
全局变量:
canvas,ctx: 画布相关width,height: 视口大小size,direction: 图形大小,形状lines: 对象数组tick: 计时器
初始方法:
init:
reset(): 监听窗口尺寸修改画布大小loop(): 循环更新画布, 增加1 tickcreate(): 每隔10 tick生成对象,push入lines数组step(): lines数组内每个对象执行step方法clear(): 淡出式擦除前一帧draw(): lines数组内每个对象执行draw方法
原理分析
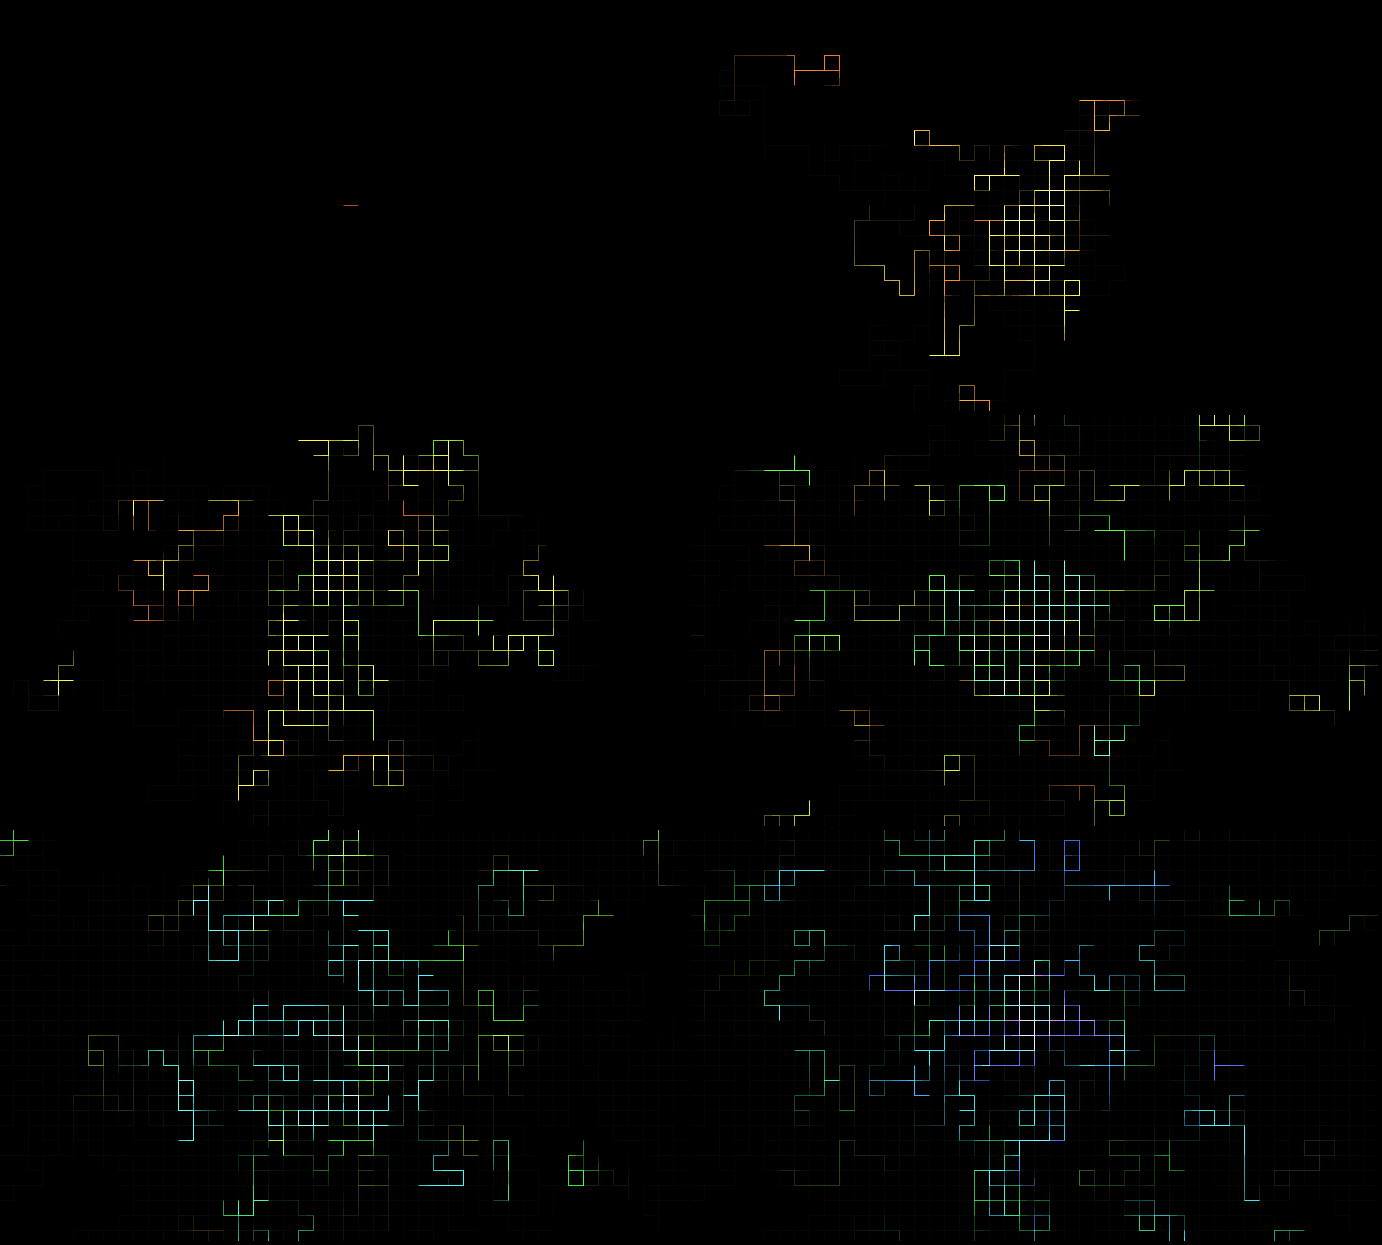
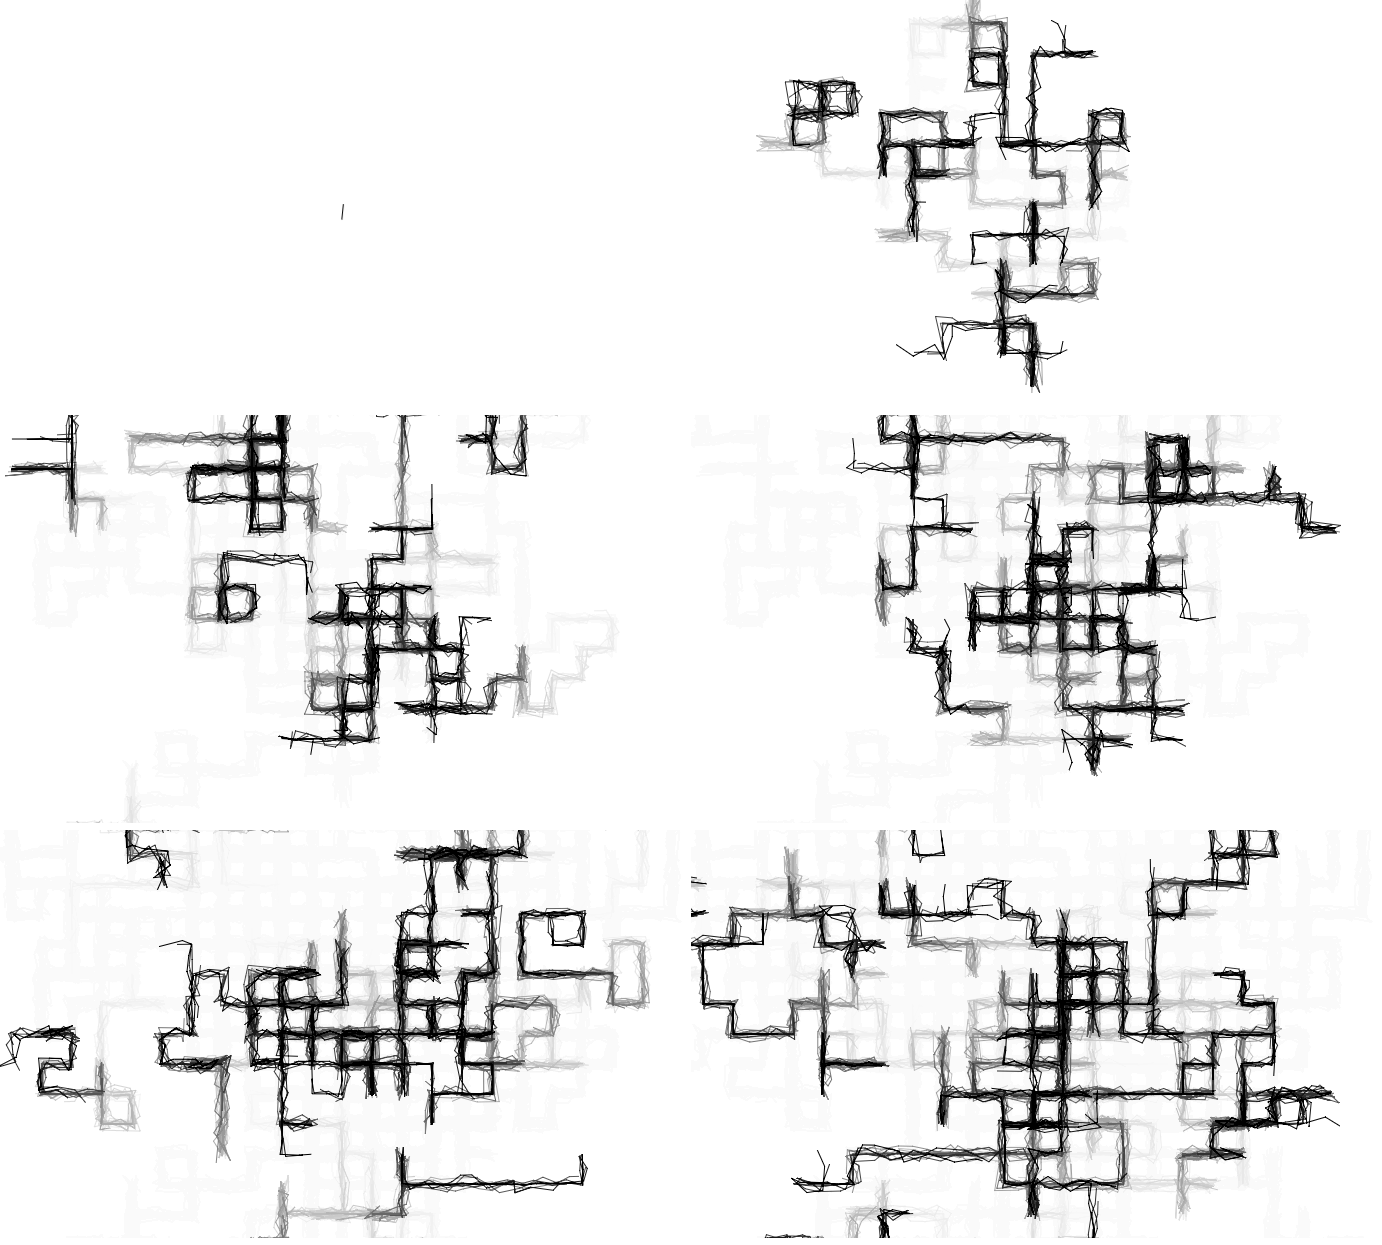
将项目的一些眼花缭乱的特效删除简化(去旋转,去缩放,去变色,去线稿化),发现其本质如下:

看到这里我原本以为它是从不同地方同时画出一个个正方形构成的,但仔细研读它的代码后,发现不是这样,它这里不是通过画正方形构成特效,而是采取一种很巧妙的方式
怎么说呢,如果用一句话概括我们看到的这张图的背后原理,我愿意将它形容为“一群在画布上随机游动的爬虫”
爬虫是什么?爬虫就是一个line对象,一群爬虫,就是我们的对象数组lines,要理解一群爬虫的轨迹,只需搞透其中一只的运行方式
从控制对象生成间隔的create函数入手,将其修改为10000以上,可单独看到一个对象的生命周期

想象一下
1. 一个对象就是一条长度为10~30的黑色蚯蚓,从屏幕正中的洞口钻出
2. 蚯蚓每次只从[↑ → ↓ ←]选择一个方向游走
3. 蚯蚓爬行过的路径留下浅灰色轨迹
4. 1000步后蚯蚓生命结束,移除屏幕
这就是此特效的本质
这里有一个细节:仔细观察上图可以发现,因为是随机方向,所以这还是一条可以走回头路的“蚯蚓”。(如: → → ← ←)
还原
本质搞清楚了,现在我们将之前删掉的修饰一步步加回来
- 渐变色效果
一句话:渐变色彩是这样产生的 → 使用hsl色彩空间,让h自增从而变色
hsla色彩小知识
h代表hue → 色相,如下:
相关代码在line对象draw方法的ctx.strokeStyle中
ctx.strokeStyle = 'hsla(' + rand(this.hue, this.hue + 30) + ', 80%, 55%, ' + (this.life / 3) + ')';
本例效果是: 对象色彩按以下规律变化
h: 同一时间的不同对象,靠后出生的对象h值总体越大
a: 同一对象随时间推移a值减小,越来越透明
s, l: 固定为80%, 50%
注:此色很搭纯黑背景
- 线稿化
一句话:在路线各节点上做一些随机振动,多次重绘此路线
相关代码在line对象draw方法的ctx.lineTo中
var rando = rand(0, 10)
this.path.length; j < length; j++) {
    ctx[(j === 0) ? 'moveTo' : 'lineTo'](this.path[j].x + rand(-rando, rando), this.path[j].y + rand(-rando, rando));
    }
随机方式是: 随机给一个振幅,再在振幅区间内随机取一个扰动值
比如说,预定轨迹是 A → A1 → A2 → B,那么我在 A, A1, A2, B这4点上给一点随机扰乱,然后多次重绘这条路线。
- 旋转缩放
- 对画布做任何变换前,先存档,变换后,再读档
ctx.save()
ctx.restore()
比如说,save之前设置了fillStyle为red,进入save后将fillStyle改为blue,画各种图形.然后restore一下,这时fillStyle忘了所有save-restore中间设置的样式,返回save时的状态.此时再画图形,fillStyle是red而不是blue
例子
- 如果只是缩放,那么画布元素会以左上角为缩放中心,配合两个反向的translate,才能使其中心缩放
ctx.translate(width / 2, height / 2)
ctx.scale(scaleX, scaleY)
ctx.translate(-width / 2, -height / 2)- 旋转很简单
ctx.rotate(rad)- 淡出动画
function clear() {
    ctx.globalCompositeOperation = 'destination-out'; //使用擦除模式: 旧图-新图
    ctx.fillStyle = 'hsla(0, 0%, 0%, 0.1)';
    ctx.fillRect(0, 0, width, height);

    ctx.globalCompositeOperation = 'lighten'; //恢复正常模式,以不影响下次绘画
}
此函数的前三句,是用一个"蒙版"对当前画面进行淡化处理
对没有任何更新的一副静态画,每执行一次clear图案变淡,执行若干次后图案消失
在一个动态的canvas动画中,默认叠加模式是source-over(简单的图像覆盖)
将叠加模式修改为destination-out,并叠加一个纯色蒙版,就会有一种新图加入,旧图淡出的效果
动画刷新较快时,会产生残影,这就是为什么动画中会有浅灰色轨迹
技巧
- 数组相关
arr.shift(): 去头
arr.pop(): 去尾
arr.splice(i, 1): 删除数组上指定位置的(第i个)元素- 获取屏幕可见宽高与中心点
width = Math.ceil(window.innerWidth / 2) * 2
height = Math.ceil(window.innerHeight / 2) * 2
target = {
  x: width / 2
  y: height / 2
}- Math.atan2(y, x)
计算(x, y)这个向量的角度(弧度制) - 描述一个向量的长度与角度(或者: 用距离跟方位唯一确定一个向量)
dist = Math.sqrt(x * x + y * y)
angle = Math.atan2(y, x)- 路径数组的描绘,先定位,后画线
ctx[(i === 0) ? 'moveTo' : 'lineTo'](path[i].x, path[i].y)- requestAnimationFrame()更新画布,绘制动效
function loop() {
  if(非终止条件) {
    requestAnimationFrame(loop)
  }
  每一帧执行的动作
  计数器++
}- 用“吸附距离”回避移动元素越位
在一段定长距离上匀速(speed)移动的元素,若元素位置离散更新。为使元素不越界,可在终点附近设"吸附距离",吸附距终点小于"吸附距离"的元素,其中:吸附距离===speed
if(this.dist < this.speed) {
    this.x = this.target.x
    this.y = this.target.y
}- 设置canvas背景的方法
方法1css
canvas {
    position: absolute;
    z-index: -1;
}方法2html
<canvas id="canvas" style='display: none;'></canvas>javascript
document.body.style.backgroundImage = `url(${ctx.canvas.toDataURL()})`(完)

暂无评论